
THE BRUSH & BOLT BLOG

Make yourself
at home.

Practical painting, decorating, handyman, flooring and renovation advice from Brush & Bolt, illustrated with our own project photographs. Welcome to Home Notes.

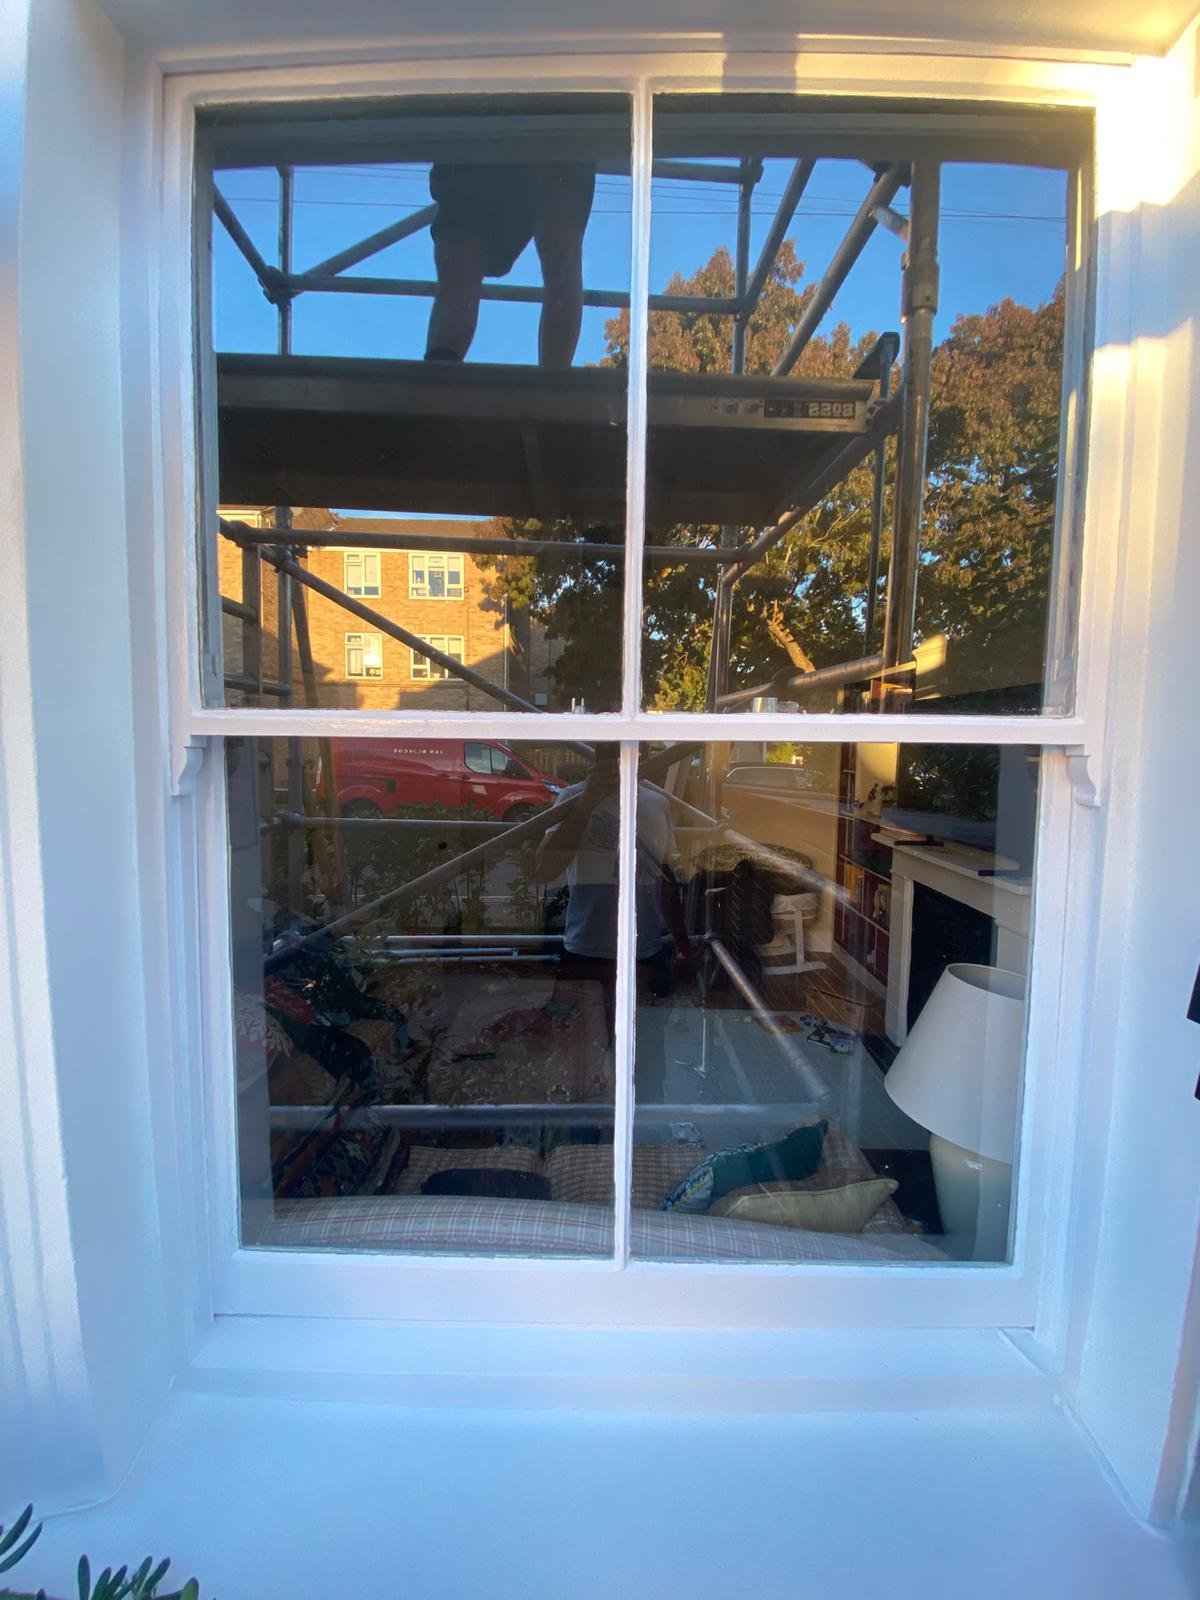
White painted sash window frame and sill with scaffolding reflected in the glass

All home improvement notes

Read Matt, eggshell or satin? Finding the right finish for your home.
Painting & decorating

Matt, eggshell or satin? Finding the right finish for your home.

White painted sash window frame and sill with scaffolding reflected in the glass

Choosing paint is about more than finding the right shade. The finish changes the way light moves across a wall, how a room feels and how easy a surface is to live with. For London homes, where a sunny front room and a shaded hallway can sit just a few metres apart, it helps to think about each space separately.

Start with the surface, then the room

Make a short list of what you are painting: walls, ceilings, skirting boards, internal doors or fitted furniture. A finish made for walls may not be suitable for woodwork, so check the product instructions before buying. The room matters too. Busy halls, quiet bedrooms and kitchens put different demands on a painted surface.

Look at the existing condition as well. A new colour cannot hide loose paint or uneven preparation. Share photographs of cracks, flaking patches and previous coatings with your decorator so that the preparation can be included in the quote.

Matt: a calm, understated look

Matt paint reflects relatively little light, which gives walls a soft appearance. It can work especially well in bedrooms, sitting rooms and on ceilings. The result usually lets the colour take centre stage without a noticeable sheen.

Durability varies between products. If you are painting a busy space, look for a finish specifically described by the manufacturer as washable or durable. Do not assume every matt paint can be cleaned in the same way; check its care guidance.

Eggshell and satin: think about everyday use

Eggshell generally has a gentle sheen, while satin usually reflects more light. These names are useful starting points, but the exact appearance differs between brands. They are common choices for interior woodwork when the product is designed for that surface.

A finish with more sheen can draw attention to bumps and imperfect preparation. It is worth allowing time for cleaning, sanding and the appropriate primer rather than choosing a shinier coating to solve a surface problem.

Test it in your actual light

A small colour card cannot show how a whole room will feel. Try a suitable sample and view it in morning light, afternoon light and under your usual lamps. Compare it beside flooring, curtains and furniture that will stay in the room.

Before committing, write down the brand, colour, finish and product name. Keeping that record makes later touch-ups much easier. If you would like help planning the painting work, send Brush & Bolt your London postcode, room photographs and the surfaces you want refreshed.

Explore our painting & decorating services

Back to all home notes

Read A smoother room refresh starts with a little preparation.
Project planning

A smoother room refresh starts with a little preparation.

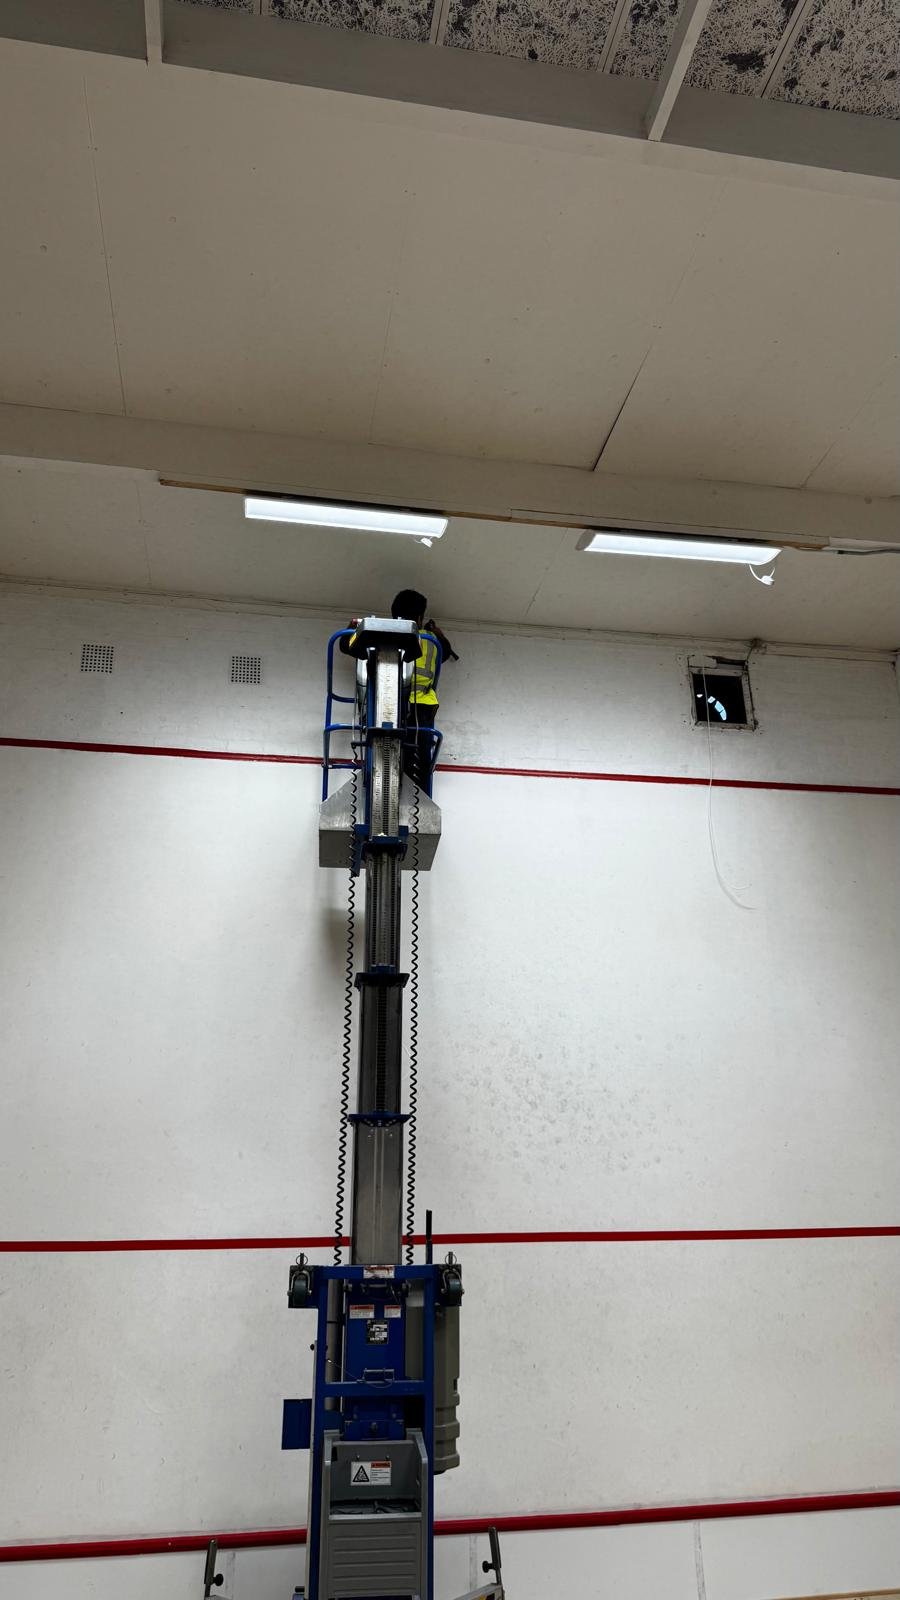
Painter working on a high interior wall using a platform lift

A freshly painted room can change how your home feels. Before the brushes come out, a few practical decisions make the job easier to plan. This checklist helps you prepare for a painting visit without guessing what your decorator needs.

Agree what is included

List the surfaces you want painted: walls, ceiling, doors, skirting and any built-in furniture. Confirm whether preparation, materials, moving furniture and the final tidy-up are included in the proposed work. Clear scope makes it easier to compare quotes and avoid misunderstandings.

Let your decorator know about peeling paint, stains or recurring cracks before the visit. Preparation needs vary, and photographs can help identify what should be inspected in person. A painting quote should reflect the actual room rather than just a room name.

Make room to work

Remove small belongings, pictures and fragile items where practical. For larger furniture, agree who will move it and where it can go. Avoid moving heavy items alone just to meet a schedule; discuss access and assistance in advance.

Keep a clear route from the entrance to the room. In a London flat, mention stairs, lift access, narrow hallways and any building access arrangements. If parking or unloading needs coordination, include that in your project notes.

Plan around everyday life

Tell your decorator whether you will be working from home, using the room at night or sharing the space with children or pets. Agree which rooms need to stay accessible and where tools and materials can be kept during the work.

Ask about drying and recoating times for the chosen product. These depend on the coating and conditions, so it is better to follow the manufacturer guidance than assume every room can return to normal on the same day.

Keep the finish details together

Record your chosen colours and finishes in one place. Label them by room and surface so that a wall colour is not confused with a trim colour. If you are still deciding, say so when requesting a quote; choosing paint and completing the painting work are separate parts of the plan.

Finally, arrange a walk-through at the end so you can review the agreed surfaces together. To plan your own refresh, send Brush & Bolt the room details, your London postcode and a realistic preferred timeframe.

Plan your painting project

Back to all home notes

Read One visit. A shorter to-do list. How to plan your handyman jobs.
Handyman tips

One visit. A shorter to-do list. How to plan your handyman jobs.

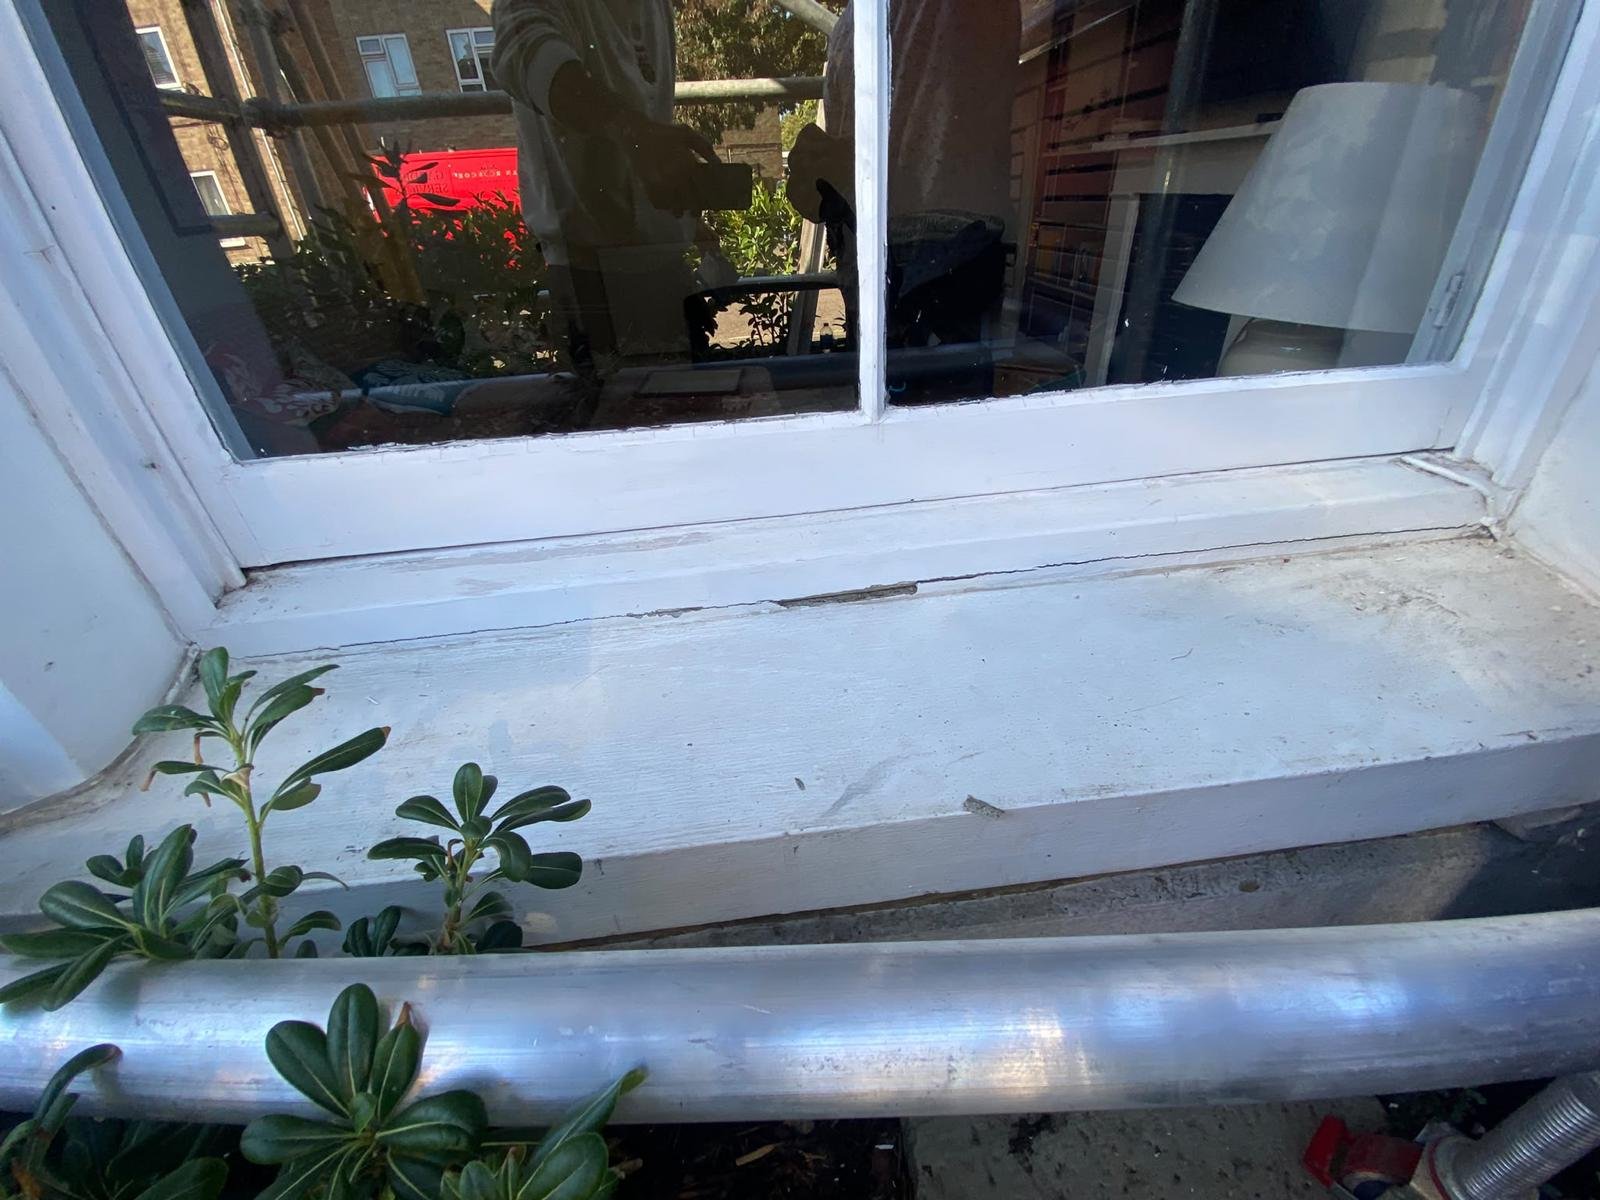
Close-up of a wooden window sill with cracked and worn paint before preparation

Small jobs have a habit of piling up. A loose handle, an unassembled cabinet and a curtain pole can sit on a list for weeks. Organising them before you request a handyman visit makes it easier to discuss the work, identify materials and understand what is realistic.

Write down each job separately

Instead of asking for a few bits around the house, describe each task in a short sentence. Include where it is, what is not working and what you would like the result to be. For example: fit two shelves in the sitting room, assemble a bedroom chest of drawers, or adjust a kitchen cupboard hinge.

Add a clear photo to your own project notes for each job. A picture of the whole area plus a closer view of the fitting often gives better context than a close-up alone. Include product links or model numbers for items you already own.

Put the most useful jobs first

Decide which jobs would make the biggest difference to your day. A cupboard that does not close may matter more than a decorative picture that can wait. Let your handyman know your priorities so that the visit can be planned around them.

Some jobs need an inspection or specific materials before they can be quoted accurately. Share your list before the visit and ask which tasks fit the service. Electrical, gas and specialist work should be discussed with the appropriate qualified trade.

Check materials and access

For flat-pack furniture, check that all packages, fittings and instructions are present. For shelves, curtain poles and handles, note what is supplied and what still needs to be sourced. Do not assume that every fixing included with a product suits your walls.

Leave the working area accessible where practical. Mention stairs, lift access, restricted entry times and any permissions relevant to a rented home. These details help the visit start smoothly and make scheduling more realistic.

Request a quote with useful detail

Send your postcode, prioritised task list, photographs and preferred timing. Ask how the work will be priced and what happens if an additional issue is discovered. A clear agreement before the visit is useful for everyone.

Brush & Bolt approaches handyman services with care, attention to detail and respect for your home. From small repairs to finishing touches, we offer clear communication, honest advice and a clean, professional finish.

Explore our handyman services

Back to all home notes

Read A considered approach to exterior painting and decorating.
Painting & decorating

A considered approach to exterior painting and decorating.

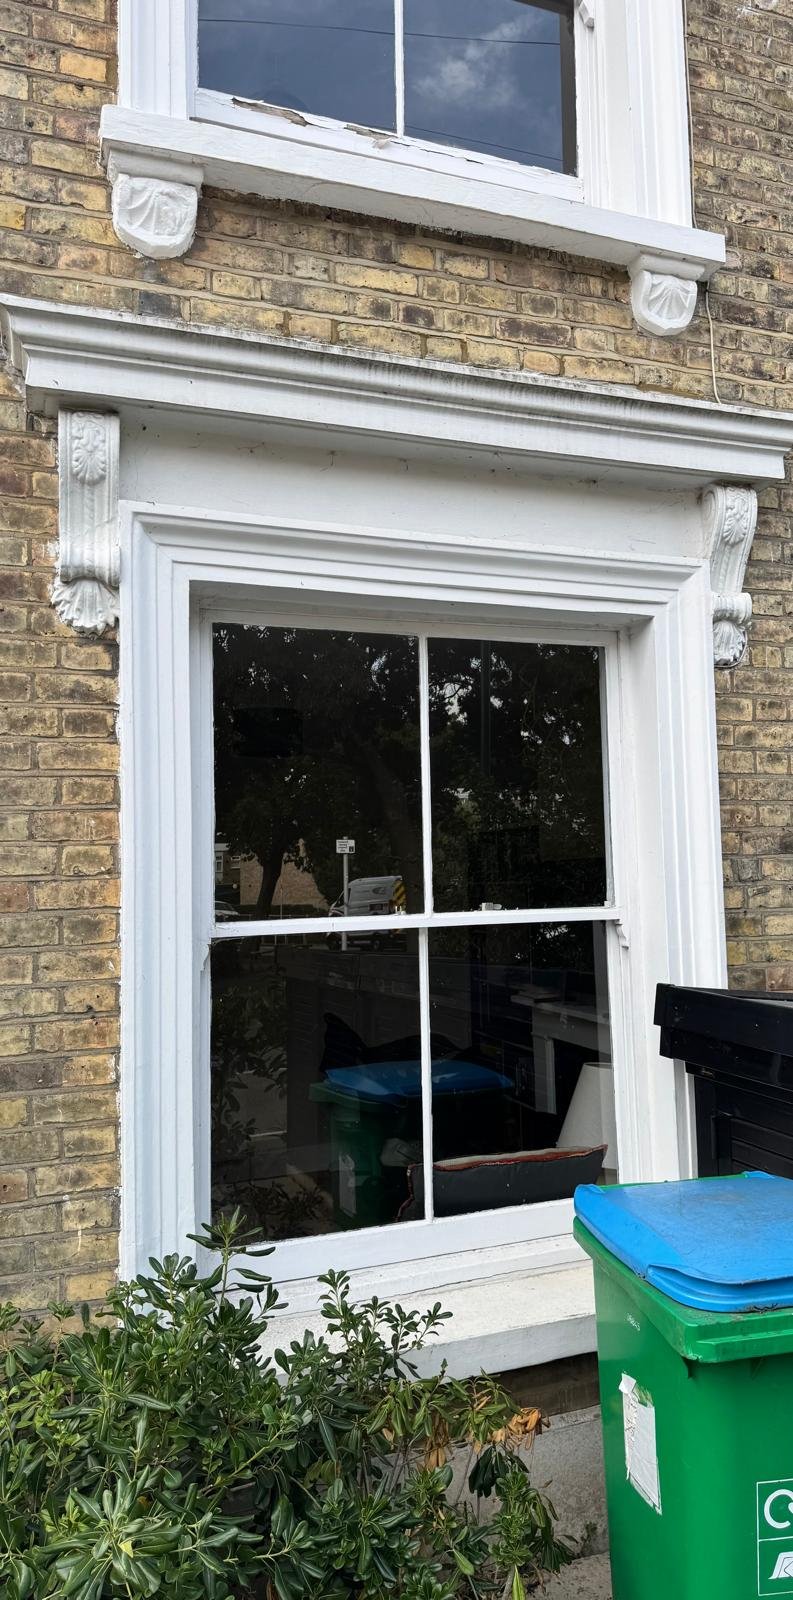
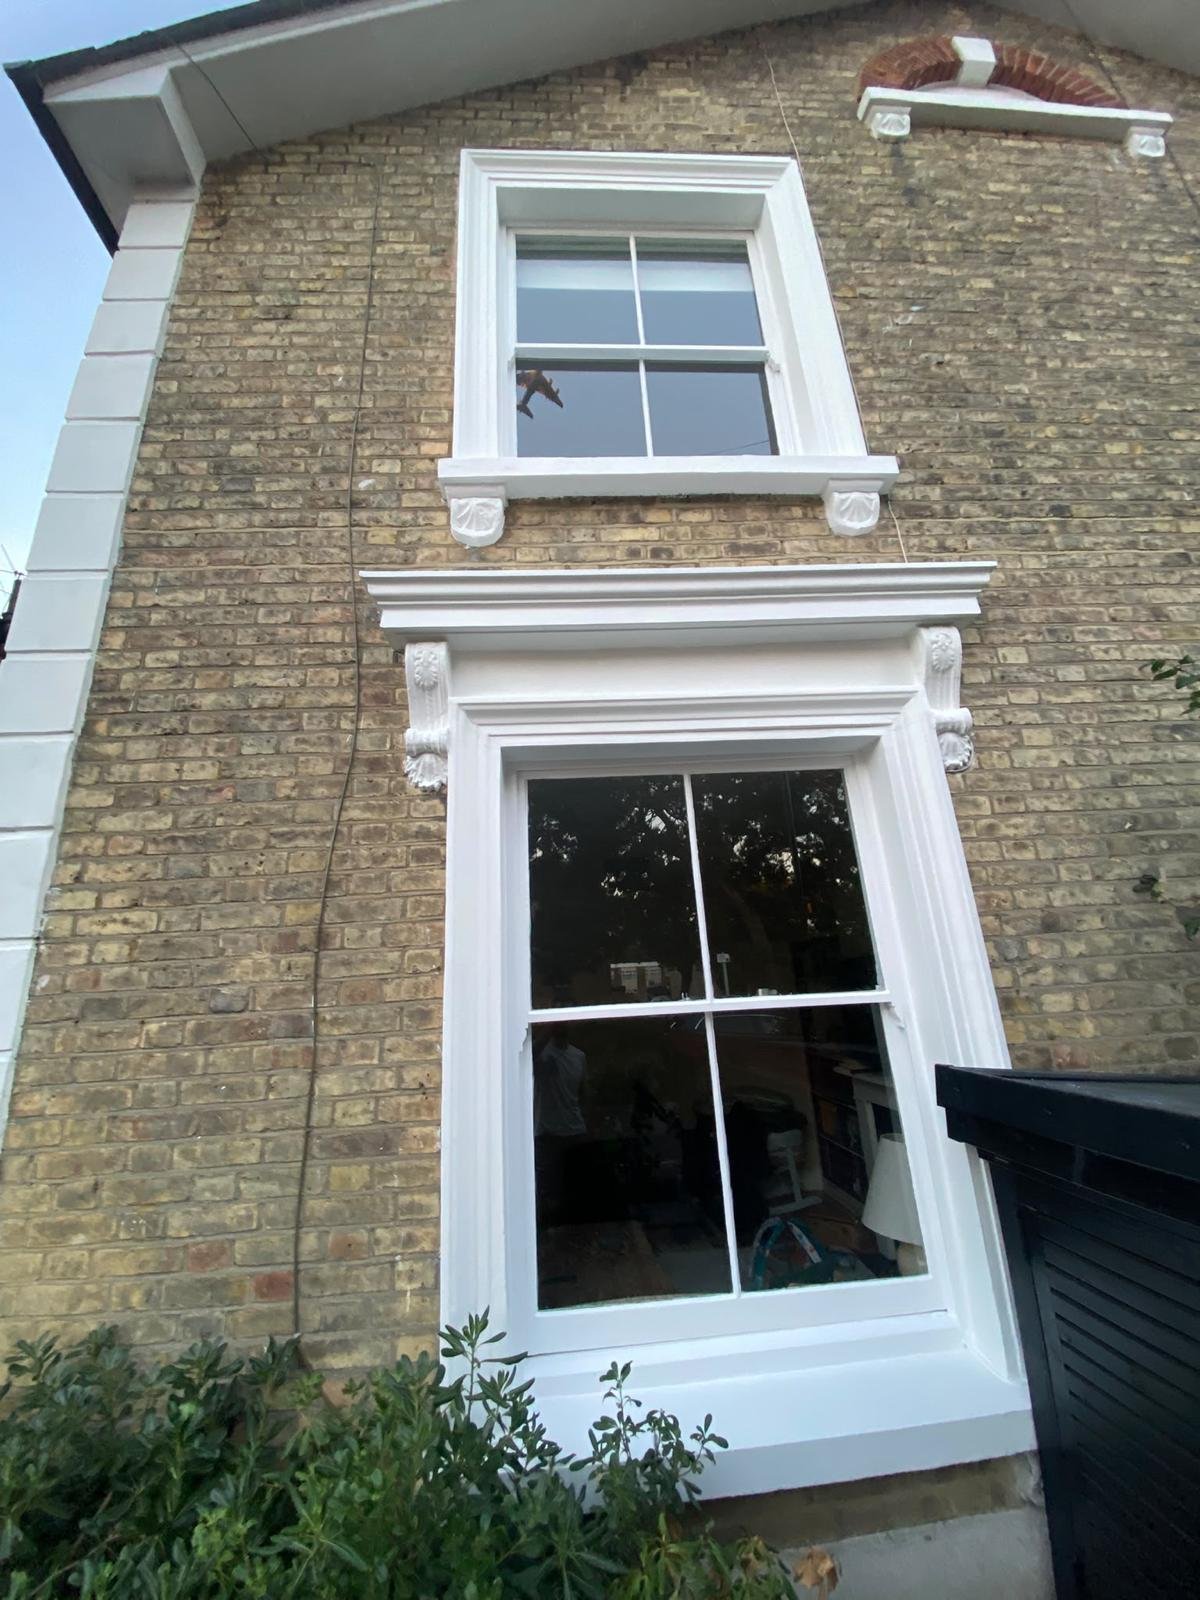
White sash windows and decorative window surrounds on a brick building

Exterior decorating starts with understanding the surfaces already in place. Our window photograph shows the mix of timber, painted surrounds and brickwork that can make an exterior project more detailed than a simple colour change. A clear plan helps you decide what needs attention and what should be preserved.

Identify each surface

List the window frames, sills, doors and decorative details you would like refreshed. Note which surfaces are timber, masonry or metal, because the preparation and coating may differ. Include a wider photograph of the building and close-up views of any worn areas.

Keep the scope specific. Painting a frame does not automatically include repairing the surrounding masonry or replacing damaged timber. Discuss those items separately so the proposed work reflects what your property needs.

Look closely at the preparation

Flaking coatings, open joints and worn edges should be assessed before the finish is chosen. Ask your decorator how the existing surface will be prepared and which areas need closer inspection. A photograph is useful for an initial conversation, but some details need an in-person look.

Record the colour and finish you want to keep or change. If you are matching existing work, share any product information you have rather than relying on a photograph alone.

Discuss access and timing

Tell your decorator about the height of the work, side access and any restrictions around the building. Access arrangements should be part of the plan, including how entrances and paths will remain usable.

Exterior work also depends on conditions and the coating selected. Agree a practical timeframe and how changes to the schedule will be communicated. Follow the chosen product guidance when planning application and drying.

Review the agreed details together

Before work starts, confirm the surfaces, preparation, materials and finishing details in the quote. At the end, walk through those same items together and keep a record of the products used.

To discuss exterior painting and decorating with Brush & Bolt, send your London postcode, photographs and a short description of the areas you would like refreshed.

Explore our painting & decorating services

Back to all home notes

Read New flooring starts with a well-prepared space.
Flooring

New flooring starts with a well-prepared space.

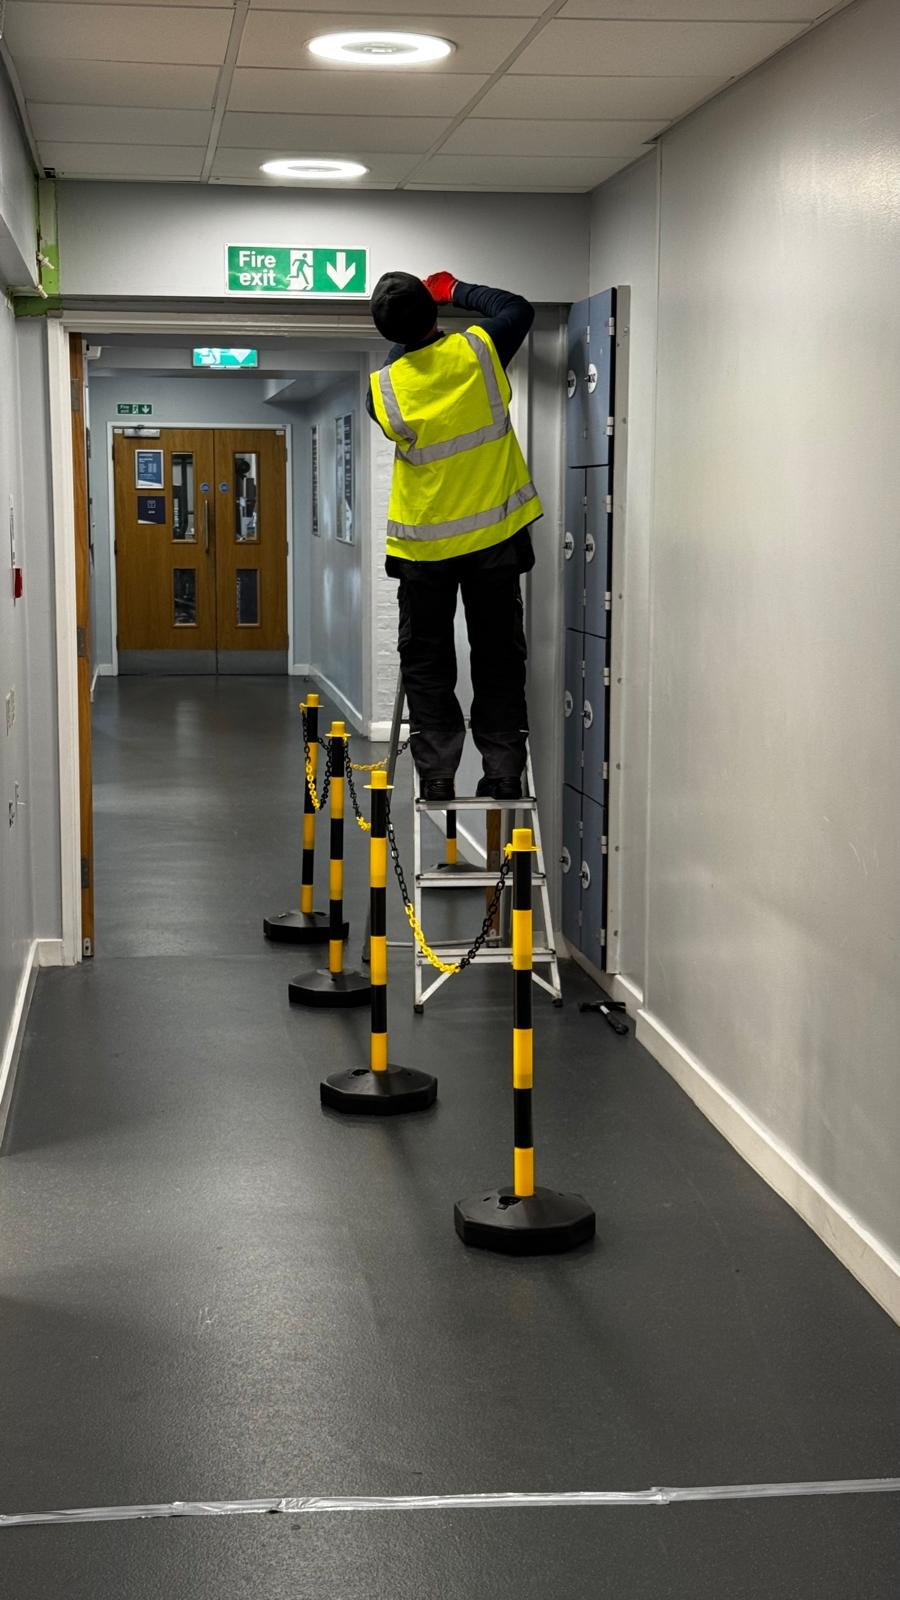
Interior corridor with visible flooring and a painter working on doorway trim

A flooring project affects more than the surface under your feet. Doorways, adjoining rooms and the route through the property all matter. The corridor in our project photograph is a useful reminder to consider how flooring and decorating fit together, rather than planning each job in isolation.

Describe the whole area

Start with the rooms, hallway or connecting spaces you want to update. Share photographs of the existing floor, doorways and changes between rooms. Include any flooring you plan to keep so the transitions can be discussed.

If you have selected a product, send its name and installation guidance with your enquiry. Different products have different requirements, so a room measurement alone is not enough to settle the scope of the work.

Agree what happens underneath

Ask who will remove the existing covering and assess the surface below it. Discuss any known uneven areas or movement before agreeing a start date. Some preparation can only be confirmed once the existing covering is lifted.

Clarify whether removal, disposal, preparation and finishing trims are included in the quote. Keeping these items explicit makes it easier to understand the work and plan for any findings during the visit.

Coordinate doors, trim and decorating

Look at door clearances, skirting boards and thresholds as part of the same project. Ask how these details will be handled with the selected floor, rather than assuming they will fit in the same way afterwards.

If painting or other renovation work is also planned, agree the sequence together. Discuss when the new floor can be used and how it will be protected during any remaining work, following the product instructions.

Make a practical access plan

Agree how furniture will be moved and which routes need to stay accessible. Tell your installer about stairs, narrow entrances and delivery arrangements before materials arrive.

For a flooring enquiry, send Brush & Bolt your London postcode, the areas involved, photographs and any product details. A clear starting point helps us discuss preparation, timing and a professional finish.

Explore our flooring installation services

Back to all home notes

Read A clearer plan for your next home renovation.
Home renovations

A clearer plan for your next home renovation.

Brick house exterior with sash windows and white decorative trim

A renovation plan starts with a clear picture of the home you have and the changes you want to make. Our exterior project photograph shows existing features that can guide a thoughtful refresh. Inside, the same approach helps connect room improvements, repairs and finishing details without losing sight of everyday life.

Set priorities by room

Write down what is not working in each space and what you would like to improve. Separate essential repairs from changes to colour, storage or finishes. This makes it easier to explain the purpose of the project and agree what matters most.

For a kitchen or bathroom renovation, include the features you want to retain alongside those you want to change. Share photographs and any chosen product details so the scope can be discussed with useful context.

Connect the jobs before setting dates

Repairs, decorating and flooring can affect one another. Ask which work needs to happen first and what should be completed before the finishing stages. Agree who is responsible for each part rather than treating the whole project as one undefined task.

Discuss any additional trades needed for your specific plan. Clear responsibilities and a shared sequence help keep the scope understandable when several people are involved.

Plan around living in the property

Decide which rooms and routes need to stay usable during the work. Discuss furniture, deliveries, working hours and where materials can be stored. Mention building access arrangements at the enquiry stage.

Agree how progress will be communicated and how unexpected findings will be handled. If the scope needs to change, review the proposed work, cost and timing before proceeding with that change.

Keep the finishing details in the plan

Make a record of colours, flooring, fittings and trim by room. Include those finishing choices in the agreed scope so they receive the same attention as the larger jobs.

Brush & Bolt approaches kitchen and bathroom renovations with care, clear communication and respect for your home. Send your London postcode, photographs and priorities to start a conversation about your project.

Explore our kitchen & bathroom renovations

Back to all home notes

LET'S MAKE IT HAPPEN

Your home. Our next
great project.

From small repairs to complete room improvements.
Tell us what you have in mind.

07435204453A conversation is a good place to start.